How to Install Laravel Valet on Mac: The Easiest Way to Set Up Local Development
If you're looking for an easy way to set up your local development environment, look no further than Laravel Valet. With just a few simple commands, you can have Valet up and running on your Mac.

If you're looking for an easy way to set up your local development environment, look no further than Laravel Valet. With just a few simple commands, you can have Valet up and running on your Mac. In this blog post, we will show you how to install Laravel Valet and use it to develop your own applications. Let's get started!
Install Laravel Valet with Composer
To install Laravel Valet, you will need to have Composer installed on your system. If you don't already have Composer, you can install it by following the instructions on the official website.
Once you have Composer installed, you can install Valet by running the following command:
composer global require laravel/valetThis will install Valet in your home directory.
Configure Valet for Your Project
Next, you need to configure Valet to work with your project. To do this, you first need to create a valet folder inside your project root. This is where Valet will look for your project files.
To create the valet folder, run the following command:
mkdir ~/.valetNow that you have created the valet folder, you can tell Valet to use it for your project. To do this, run the following command:
valet use ~/.valetYou should now see a message saying that Valet is configured for your project.
Access Your Valet Server
Now that Valet is configured, you can start using it to develop your application. For example, if you have a file called index.php in your project root, you can access it by going to the following URL in your browser:
localhost:8000/index.php If you want to access your project files from a different computer, you can use the valet share command. This will start a local development server you can access from any computer on your network. To share your project, run the following command:
valet shareYou should now see a URL that you can use to access your project from any computer on your network.
Conclusion
Valet is an excellent tool for quickly setting up a local development environment. With just a few simple commands, you can have Valet up and running on your Mac.
In this blog post, we showed you how to install Laravel Valet and use it to develop your own applications. Give Valet a try and see how it can simplify your local development workflow.

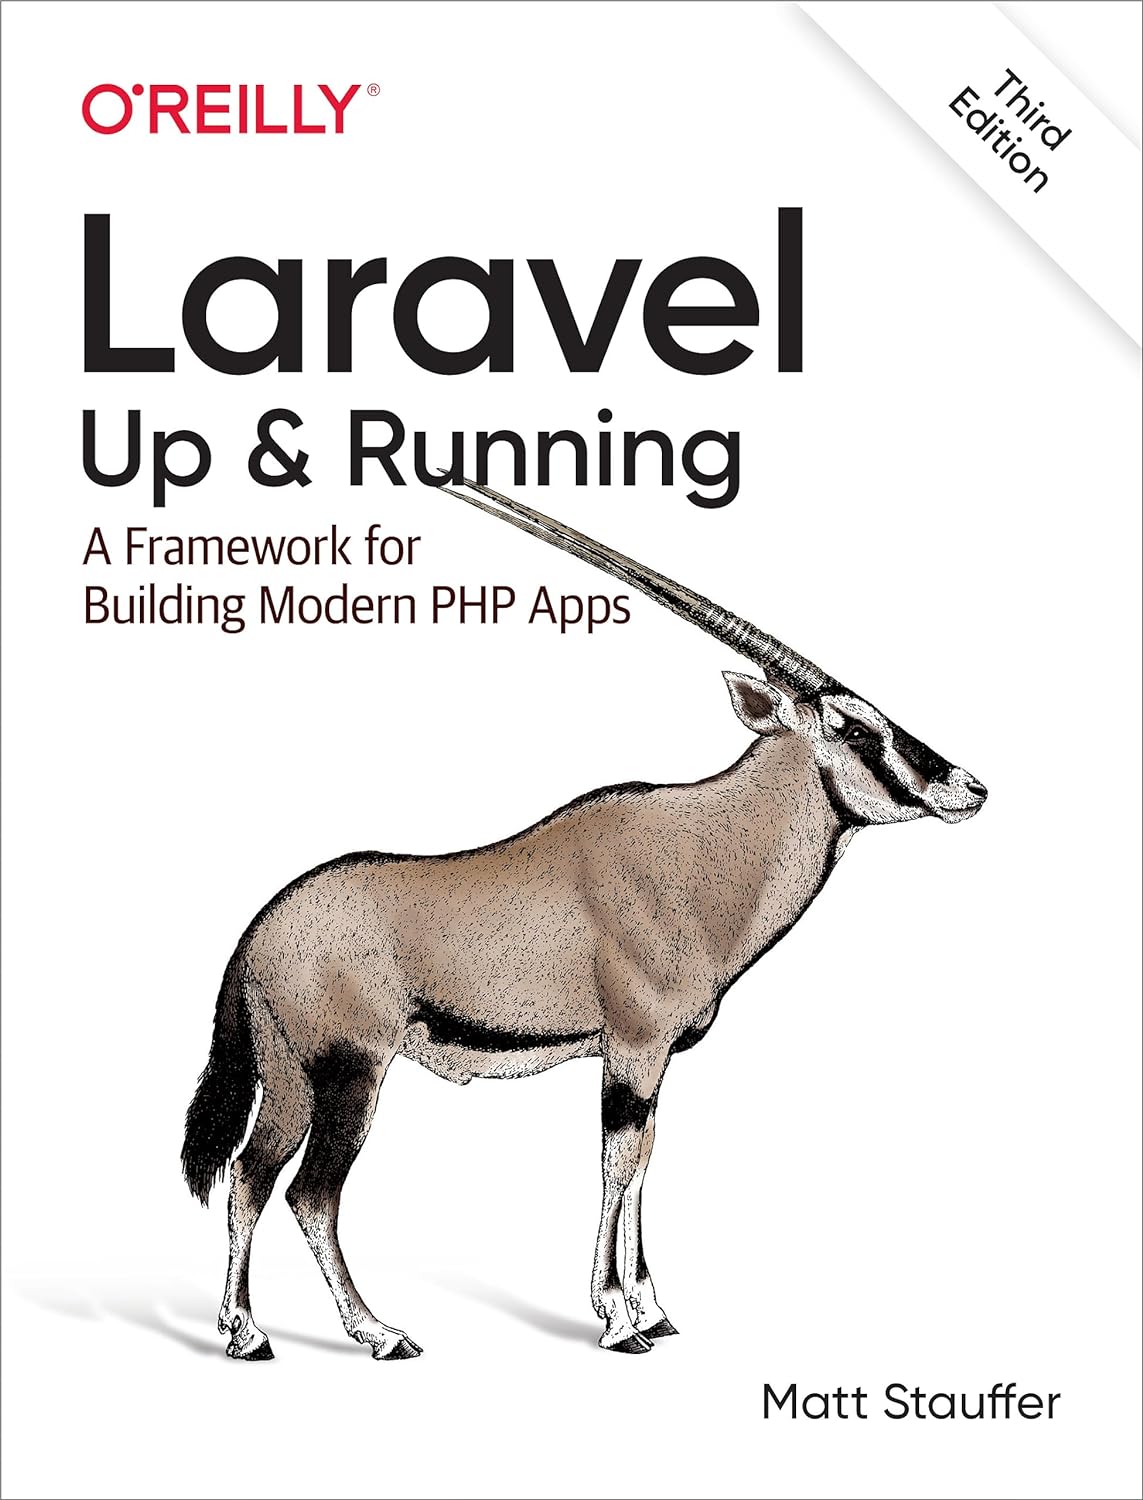
Laravel: Up & Running
What sets Laravel apart from other PHP web frameworks? Speed and simplicity, for starters. This rapid application development framework and its ecosystem of tools let you quickly build new sites and applications with clean, readable code. Fully updated to include Laravel 10, the third edition of this practical guide provides the definitive introduction to one of today's most popular web frameworks.


